OpenStack CLI Installation
To use OpenStack CLI, you need to install the OpenStack CLI Client for your OS:
# Fedora
dnf install python3-openstackclient
# Debian / Ubuntu
apt install python3-openstackclient
The official installaton guide can be found on docs.openstack.org.
OpenStack client environment script (OpenRC file)
To increase efficiency of client operations, OpenStack supports simple client environment scripts also known as OpenRC files. These scripts typically contain common options for all clients, but also support unique options.
You may download such an OpenRC file from the dashboard.
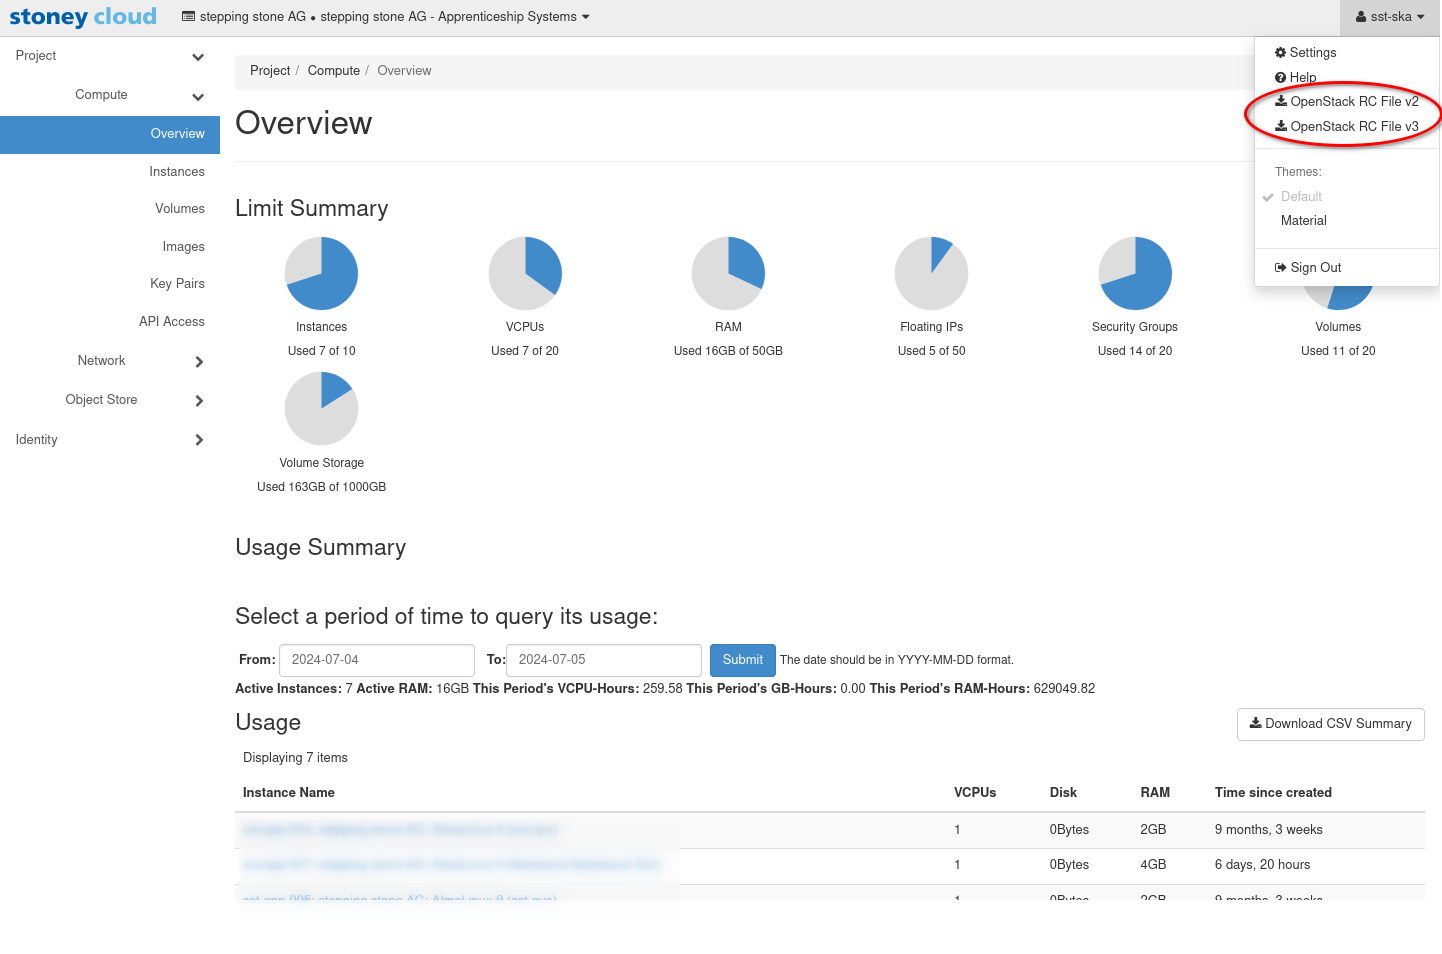
After logging into the dashboard, click on your user name in the upper right corner and choose the menu option «OpenStack RC File v3» and save it the desired location on your local machine. As you can have multiple OpenRC files, we recommend to use a sub directory. For example openrc in your home directory.
Source the OpenRC file specific to this project (use single quotation marks to avoid problems with spaces in the file name):
source ${HOME}/openrc/'Project Name-openrc.sh'
After you sourced the file, you need to enter a password:
Please enter your OpenStack Password for project Project Name as user user:
Check if you have access to the OpenStack API by listing the API endpoints:
openstack catalog list
Expected output:
+------------+-----------+--------------------------------------------------------------------------------------------------+
| Name       | Type      | Endpoints                                                                                        |
+------------+-----------+--------------------------------------------------------------------------------------------------+
| glance     | image     | duedingen-production                                                                             |
|            |           |   internal: https://glance.ctrl-int.os.stoney-cloud.com:9292                                     |
|            |           | duedingen-production                                                                             |
|            |           |   public: https://api.os.stoney-cloud.com:9292                                                   |
|            |           | duedingen-production                                                                             |
|            |           |   admin: https://glance.ctrl-int.os.stoney-cloud.com:9292                                        |
[...]
| cinderv2   | volumev2  | duedingen-production                                                                             |
|            |           |   internal: https://cinder.ctrl-int.os.stoney-cloud.com:8776/v2/616812eda14e44de89138f3377841187 |
|            |           | duedingen-production                                                                             |
|            |           |   admin: https://cinder.ctrl-int.os.stoney-cloud.com:8776/v2/616812eda14e44de89138f3377841187    |
|            |           | duedingen-production                                                                             |
|            |           |   public: https://api.os.stoney-cloud.com:8776/v2/616812eda14e44de89138f3377841187               |
|            |           |                                                                                                  |
+------------+-----------+--------------------------------------------------------------------------------------------------+
VM Creation - One-Disk Setup
VM Creation - One-Disk Setup - Variables
We define bash variables so that in every command the same value is being used.
Another advantage of variables is, that the documentation is significantly easier, as another person could replicate the server if they know the variables that were set.
Set the following variables that we will use in later commands:
# Host name of the server.                 Example: hostname="sst-int-tmp-041"
hostname=""

# Display name of the server in OpenStack. Example: vmname="sst-int-tmp-041: debian test cli"
vmname=""

# Domain name.                             Example: domain="os.stoney-cloud.com"
domain=""
We need to set the project_id variable to the project our previously sourced openrc file belongs to:
# List the projects of your OpenStack domain.
openstack project list

# Project ID of the project in which the VM will be created.
#   Example (stepping stone AG - Internal Systems Temporary): project_id="6fd0ccd8b5ae44d292c67f0d3e75ca20"
project_id=""
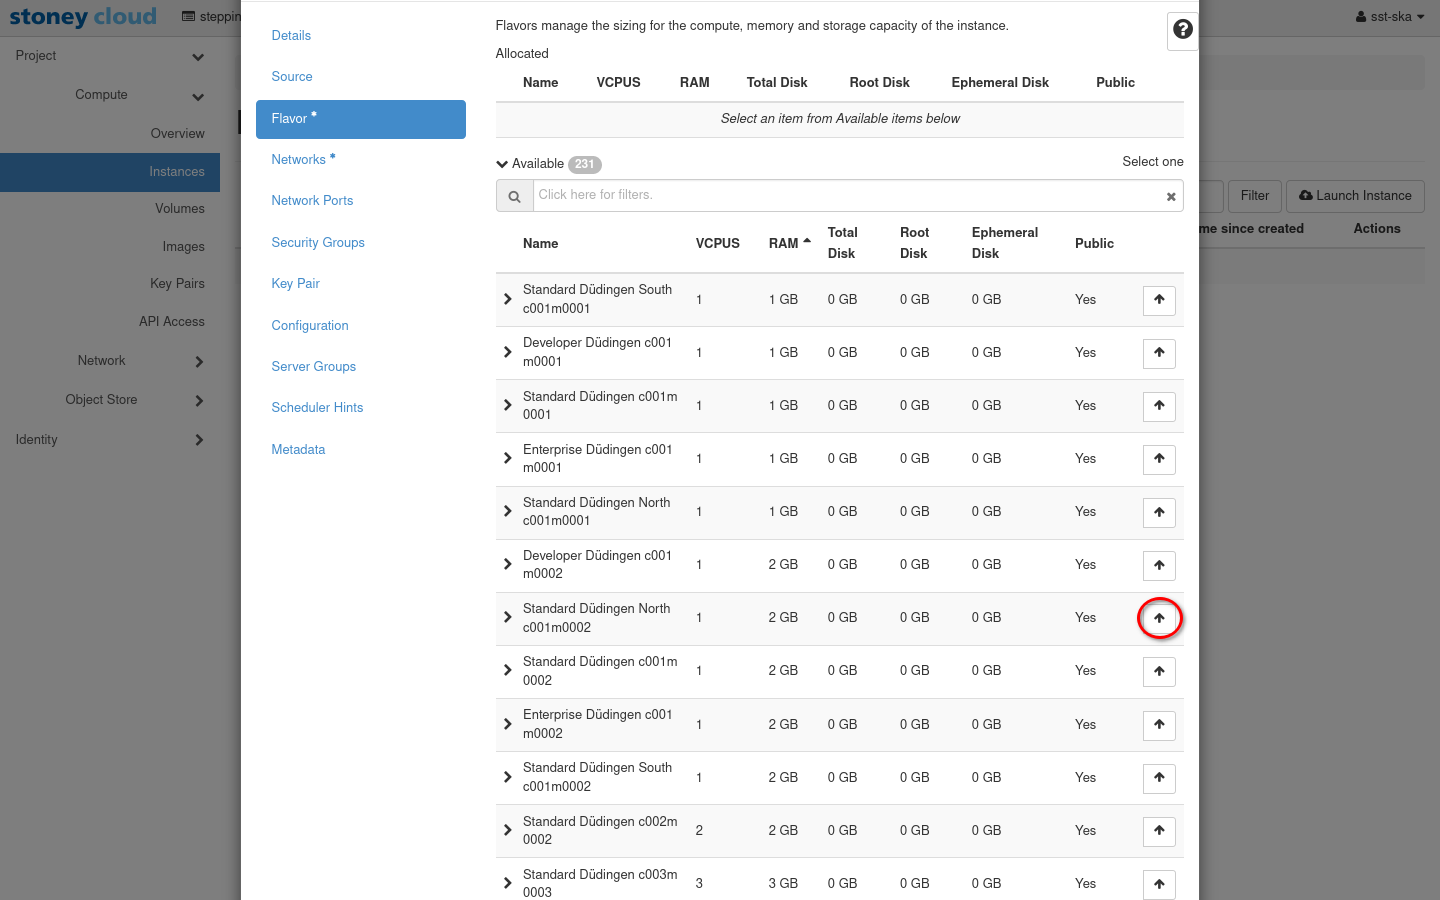
A flavour defines the CPU and RAM resources of the VM.
The flavour is in the following format: cXXmYYYY where XX is the amount of CPUs and YYYY the about of RAM:
# List all available flavors
openstack flavor list --column Name --column ID | tail -n+3 | head -n-1 | sort -k3 -t'|' | grep Windows

# Set the flavor ID, default: Standard Düdingen c001m0004 (719c82d4-df94-47fc-a7df-f18d5c6d3727).
#    Example: flavor_id="719c82d4-df94-47fc-a7df-f18d5c6d3727"
flavor_id=""
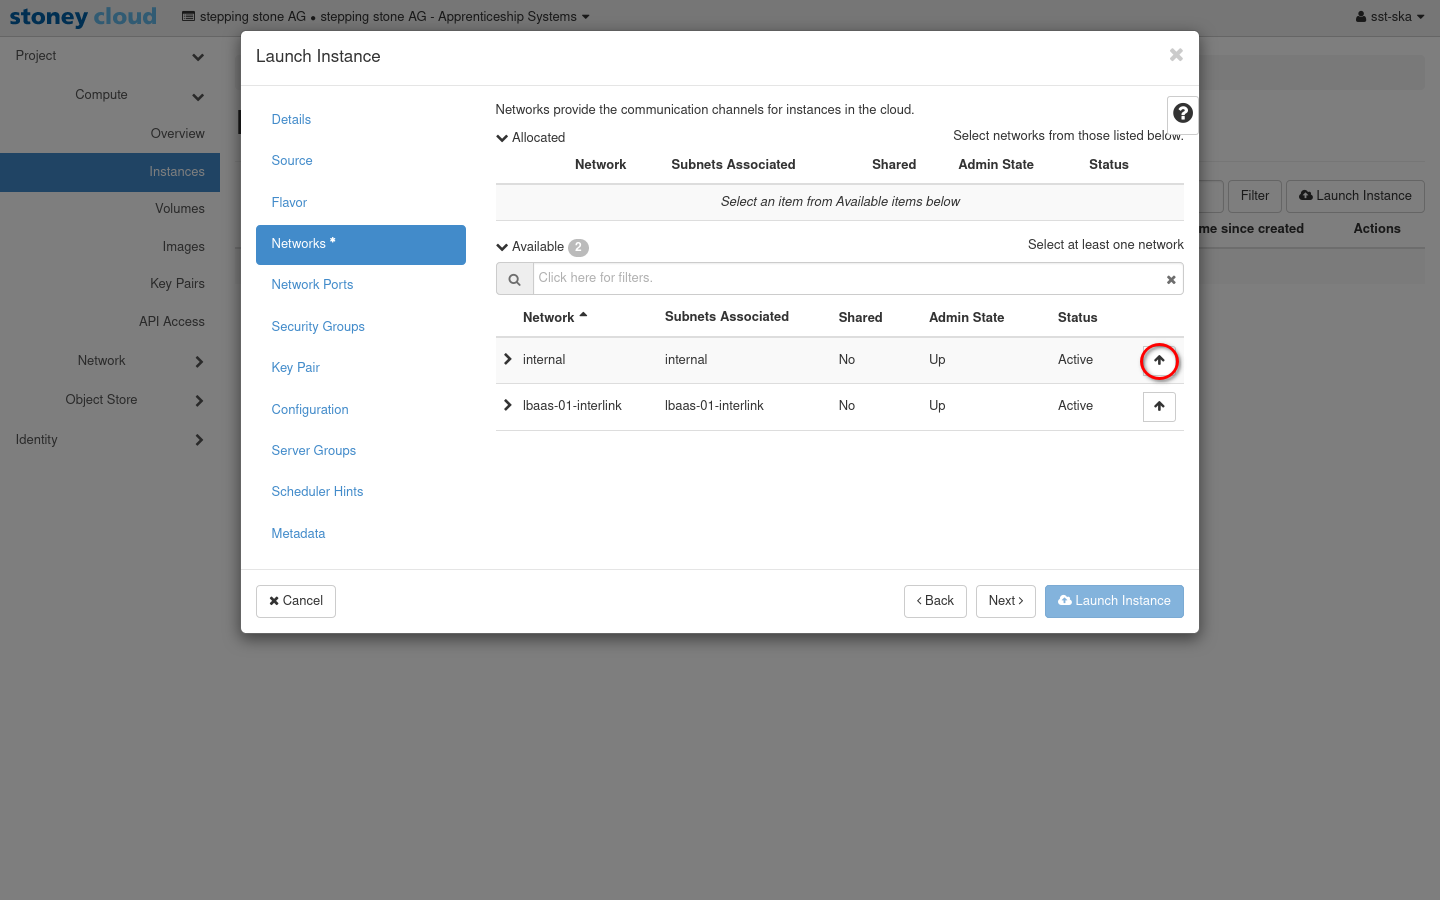
We will add our VM to the internal network of our project. This is the default network:
# List the networks of the current project
openstack network list --project ${project_id}

# Network ID, usually the ID for the network "internal".
#    Example: network_id="919c2dde-6996-494a-86de-fc3b08248418"
network_id=""
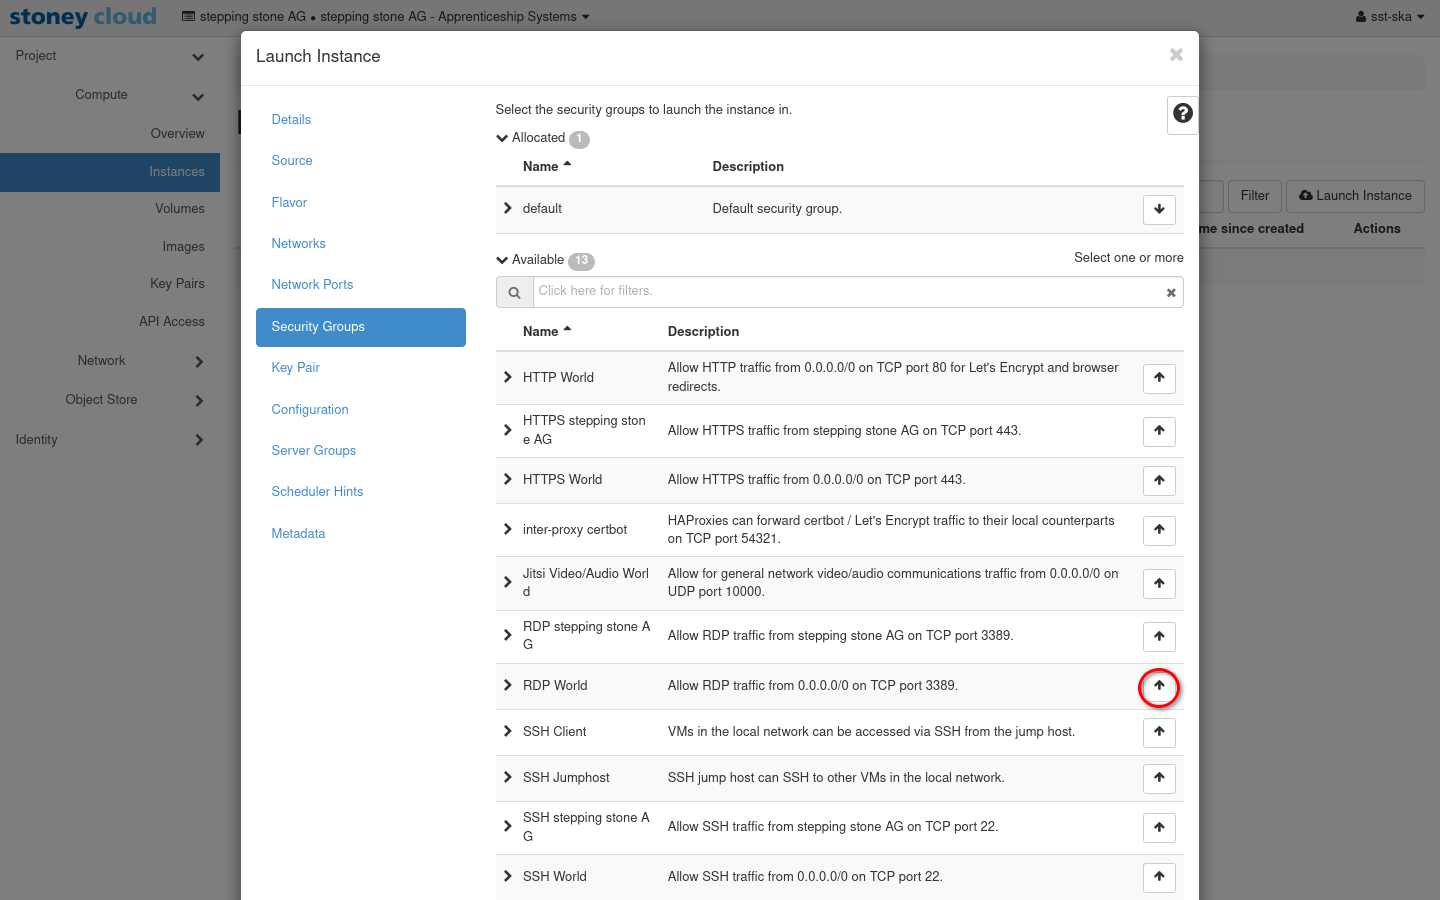
For this example, we use the "SSH" and "default" security groups (firewall-rules), so that we can access our server via ssh:
# List the security groups of the current project and search for ssh and default
openstack security group list --project ${project_id} | egrep -i '(ssh|default)'

# We set the default security group ID "default" ("default" is required for outgoing traffic!):
#    Example: default_security_group_id="3f576bd2-11fe-47f3-806e-aaa219cff589" # default
default_security_group_id=""

# We set the "SSH World" security group ID:
#    Example: ssh_security_group_id="8083a9f3-e6c0-4061-b4bb-eb0dd24a86ef"     # SSH World
ssh_security_group_id=""
VM Creation - One-Disk Setup - Disk creation
In OpenStack every Image has an ID.
To create a new VM, we need to create a disk first.
We can list the available images using the openstack-cli - we search for Ubuntu:
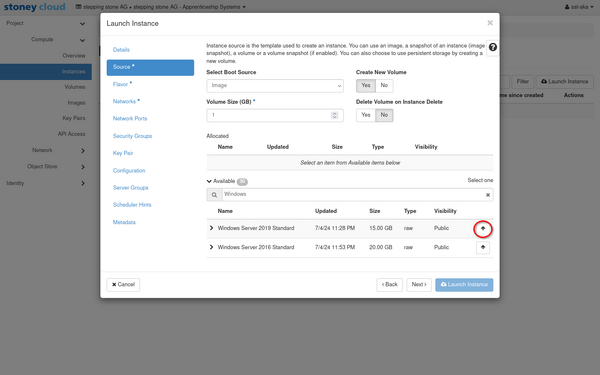
openstack image list | grep "Windows"
Expected output:
| 053129aa-48b5-40d2-8784-7215fcc62d48 | Windows Server 2012R2 import                                                 | active |
| 1004d7c3-da11-404b-bfa7-9f7df18f1966 | Windows Server 2016 Standard                                                 | active |
| a68f3f5f-db1f-4610-9931-cb3adf887b8d | Windows Server 2016 Standard (deprecated)                                    | active |
| 9868a8b8-4953-4d16-a078-ba7238fa0a1d | Windows Server 2019 Standard                                                 | active |
| 4c56a79b-a2f5-47be-9de0-ce808f5b77cc | Windows Server 2019 Standard - Private                                       | active |
| 3f9bfb18-a263-4e2e-9555-dea8d12bb6ae | Windows Server 2022 Standard (20230928): Primary disk /dev/vda (C:\)         | active |
| 93a888a4-abb7-408b-8976-969718a7e5a7 | Windows Server 2022 Standard (deprecated)                                    | active |
We set the ID of the image and the size of the disk as variables for later use.
# Set the Image ID used for the first volume (Windows Server 2022 Standard (20230928): Primary disk /dev/vda (C:\))
vda_image_id="3f9bfb18-a263-4e2e-9555-dea8d12bb6ae"

# Size for the first volume in GiB
volume_size_vda="10"
Now we can create the volume using the variables we just set.
We can set volume_vda_id as the command returns the ID of the newly created disk:
volume_vda_id=$(
    openstack volume create \
        --property os-vol-tenant-attr:tenant_id=${project_id} \
        --bootable \
        --size ${volume_size_vda} \
        --image ${vda_image_id} \
        --description "OS disk (/dev/vda) for ${hostname}." \
        --column id \
        --format value \
        "${hostname}: OS"
)
|
Set the variable ${volume_vda_id}.
Creates a new disk.
The disk belongs to the current project.
The disk can be bootable.
The size of the disk is ${volume_size_vda}.
The image of the disk is ${vda_image_id.
We set the description of the disk.
The id column will be printed out as output.
Only the value will be printed out as output.
Name of the disk.
-
|
We ask OpenStack for the status of the current disk.
If the disk has been successfully created, we can move on and create the VM:
openstack volume show \
    "${volume_vda_id}" \
    --column status \
    --format value
Expected output:
available
VM Creation - One-Disk Setup - VM creation
We can create the server using the openstack server create command:
server_id=$(
    openstack server create \
        --property project_id=${project_id} \
        --flavor "${flavor_id}" \
        --nic "net-id=${network_id}" \
        --volume "${volume_vda_id}" \
        --security-group "${default_security_group_id}" \
        --security-group "${ssh_security_group_id}" \
        --column id \
        --format value \
        "${vmname}"
)
|
We set the server_id variable to the OpenStack id of the server.
We create a new VM.
We set the project to ${project_id}.
We set the flavor to ${flavor_id}.
We set the nic to ${network_id}.
We set the volume to ${volume_vda_id}.
Use the security-group (firwall rule) ${default_security_group_id}.
Use the security-group (firwall rule) ${ssh_security_group_id}.
We use our previously generated clopud init script as user-data.
The id column will be printed out as output.
Only the value will be printed out as output.
We set the name of the VM.
-
|
Check the status of the newly created instance (should be ACTIVE)
openstack server show ${server_id} --column status
Expected Output:
+--------+--------+
| Field  | Value  |
+--------+--------+
| status | ACTIVE |
+--------+--------+
VM Creation - One-Disk Setup - VM Login
Log in to the stoney cloud dashboard with the credentials you have received from us.
1. Select the appropriate project from the drop down menu at the top left.
2. On the Project tab, open the Compute tab and click Instances category.
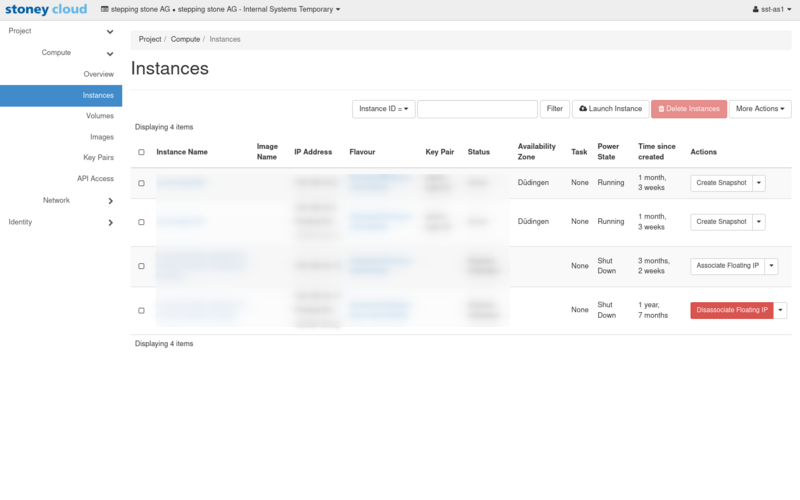
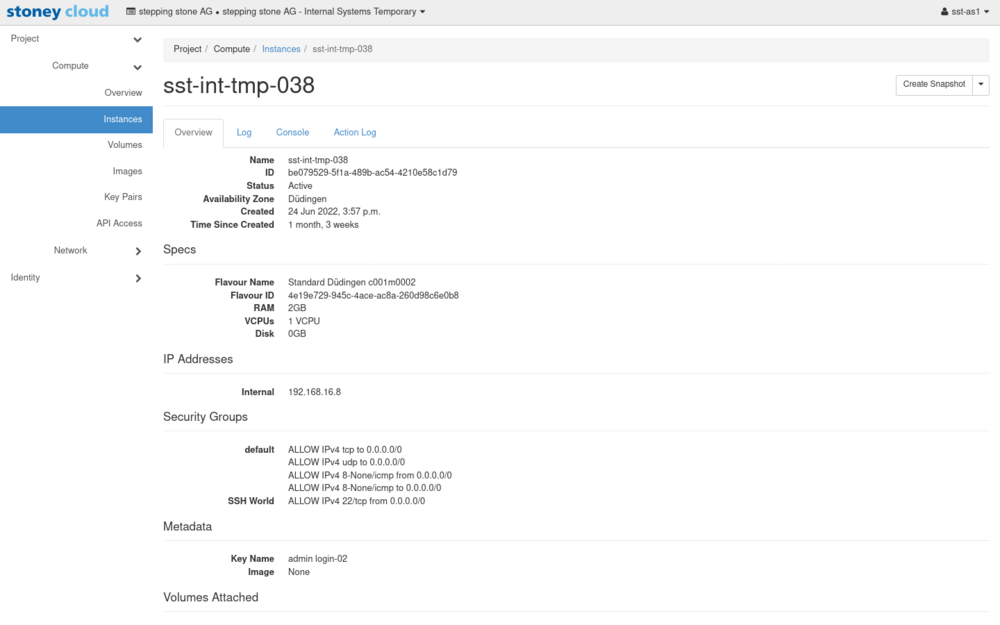
3. Click on the instance name of your VM
Enter the console tab and set a new administrator password.
Finally, you can connect to your newly created VM by using xfreerdp:
 password=''
xfreerdp --ignore-certificate --plugin cliprdr -g 1440x900 -u Administrator@PROD-RMA -p $password 127.0.0.1
VM Creation - One-Disk Setup - Checks
To verify that the VM got set up correctly start PowerShell as Administrator and run these commands:
Check if the correct image was selected:
systeminfo | findstr /B /C:"OS Name" /C:"OS Version"
OS Name:                   Microsoft Windows Server 2022 Standard
OS Version:                10.0.20348 N/A Build 20348
Check if the disks are mounted correctly:
Get-Disk
Number Friendly Name Serial Number                    HealthStatus         OperationalStatus      Total Size Partition Style                                                                                                                    ------ ------------- -------------                    ------------         -----------------      ---------- ---------- 0
Red Hat Vi... 1f4afc6e-be44-4c29-b                    Healthy              Online                 20 GB      MBR
Check if you selected the correct flavour:
(Get-CimInstance Win32_PhysicalMemory | Measure-Object -Property capacity -Sum).sum /1gb
(Get-CimInstance Win32_ComputerSystem).NumberOfLogicalProcessors
4
1
